Introduction to basic tools in Valve Hammer Editor
Posted: Sun Jun 03, 2018 12:20 am
In this part of the guide you will learn about the basic VHE tools and interface you need to use as a begginer
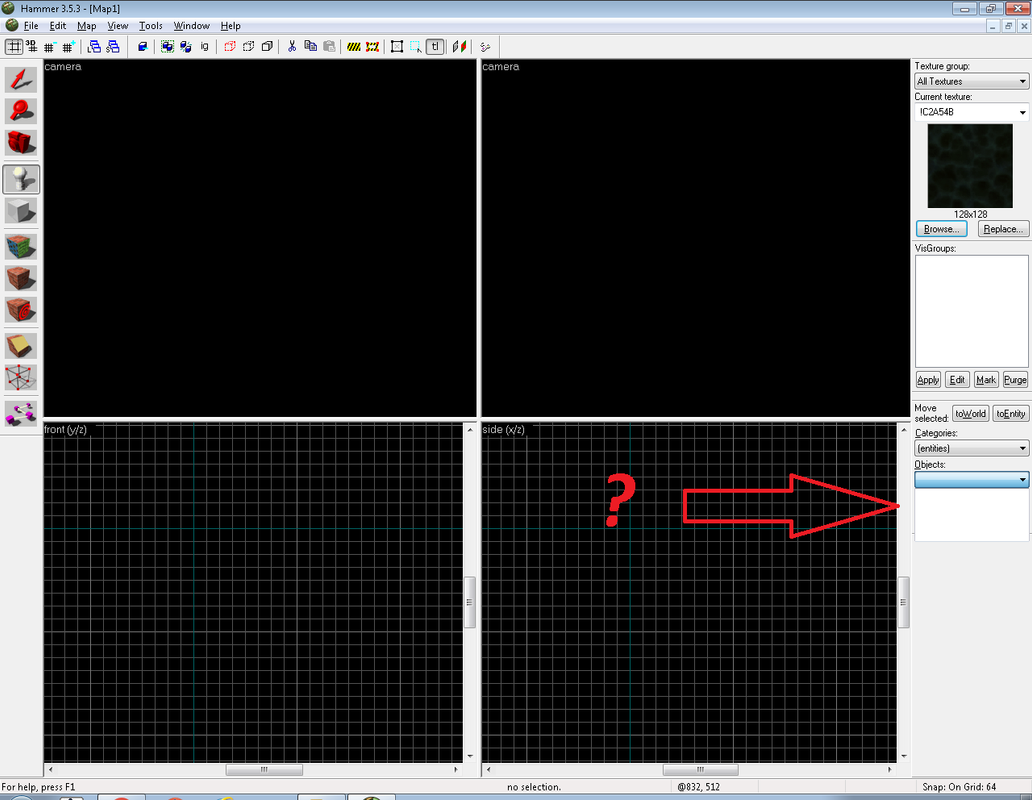
 This is the standart VHE interface. You have 4 viewpoints that shows you 3D, top,front and side view. In the left side are the tools you gonna use for mapping and in the right side are texture and object bars.
1.For a start click of "File" tab and select "New". If asked to select game confuration select "cs". Afther that this window will appear.

2. Now select a texture to use from the right texture bar. It doesn't matter what texture you pick its your own choice. Textures are very important part of mapping. Some textures have different properties, like water or sky texture, but more about that later.

3. Now that you have picked texture, you need to learn about "Block tool". Clock the block tool button on the left or use shortcut "Shift+B" and create your first block in the top viewpoint section.


The block tool is the main tool you gonna use to create maps. The blocks creates brushesh in your map. The more brushesh your map contains, the more laggy your map is gonna be. So don't create many blocks because it may make your future map unplayable. More about the brushes later.
About brushes
4. Now you have a solid block just sitting there in the 3D waiting to be turned into beautiful map. Select the block in 3D view with the "Selection tool" or using the shortcut "Shift+S". Now that the block is selected you can interact with him, changing his properties or shape or anything else. Remember that you cant interact with objects that are not selected.
About Selection Tool
Now what we need to do is to make this solid block, to be empty from inside. To do that use shortcut "Ctrl+H" or right mouse click on the block in any viewpoint (exepect in 3D view) and then select "Make Hollow". A window will appear asking you how thick to be the walls of the block, so just type 10 and click Ok.


Now you have empty block that can be used as border for our map. REMEMBER in orther to create working map it needs to be SEALED so there are no LEAKS.No part of the interior of the level, the world, should connect with the outside, the empty black void. VOID IS DANGEROUS! If there is leak to the void you won't be able to compile your map and if your map is really big you gonna have hard time to find where the leak is, so learn from the beggining to keep everything closed within surface.
5. "The Camera" allows you to move freely in the 3D and observe your creating from better angles. Its probably the most usable tool, and its great help to see if there is any leaks in your map or just to see how thing are gonna be like when you play your map in cs. You can use shortcut "Shift+C" or from the left tool bar in Hammer. To move in 3D view hold left or right mouse button and "W" ( or you can press "Z" and it will hold it automatically). You can even create different camera points that will remain and can be swaped with one onother. You can do that with holding Shift and draging left mouse button to the direction you want your camera to see. To delete them just select the camera point and press "Detlete".

Another tip i can give you is to press "Shift+Z" , it will maximize you 3D view window so you can move better with the camera and then press it again to return to the previous view.Try experimenting and get familiar with the camera. If you close some viewpoint window DON"T EXIT THE HAMMER, just click go in the top menu and click WIndow and then "Tile" to rearange all the viewpoints. Thats all you need to know about camera.
6. You probably noticed that when you create block it snaps to the grid in hammer. But sometimes you gonna need to use smaller blocks or place them with more precision. For that you need to change the size of the grid. To do that just click "Smaller grid" and "Larger grid" that works for you. Remember to use as much as possible large grids because smaller grids can make easy for blocks to be displaced in some cases. Even if you disable the grid from the button its still gonna snap to it's selected size.

7. Now that you know how to resize your grid you can place some objects inside your block. You can switch to other kind of shapes from the "Obeject bar"

Try experimenting with those object to create unique forms for your map.
8. After you have created some different blocks try to change treir texture. About texturing you already know how to select texture from the texture bar. Now you need to see how to apply it. You can apply one texture to either the whole object you have marked, or to only one side of it. Select object and then click on "Apply current texture" and the texture will change to all of the object sides.

The other tool is "Toggle texture application". You can call it with the shortcut "Shift+A". Use it to change the texture only to the sides you want from one object.

Toggle texture application is very flexible tool for texture editing. With it you can scale, move, rotate textures, make it mirrored or just fitting it all in the object side. This tool as well as block tool and camera you will be using for 90% of the time when you create maps. So its good to experiment with it and find how it works by yourself instead of reading it in a guide.
9. Another usefull tool in Hammer is the "Clipping tool".
 You can use it to cut parts from your blocks. Its pretty easy to use, you just place a pont where you want to start clipping and then drag it to the end of the object.
 You can switch to witch side you want clipped when you click the "Clipping tool" again, or you can keep the two parts of the object, just making him constructed of two parts instead of one.


10. There is "Vertex tool" which can be called by "Shift+V". I don't really recommend using it if you don't know what you are doing because it can create really twisted shapes straight from the 4th dimention that can crash your hammer or compilator.


11. The last tool you need to know about as a begginer and maybe the most important one is "Entity tool". Click it from the left tool bar or use "Shift+E"

Now that you have activated it you need to select entity you want to use.

About Entities:
Difference between a Brush and an Entity
For our simle map we need 2 point entities. One for CT spawn and one for T spawn.
info_player_start - entity for one CT player spawnpoint
info_player_deathmatch - entity for one T player spawnpoint
Select the info_player_start ( its by default) and place it inside your map borders and press "Enter". A green block will appear with the size of a real cs player model. Watch out that the player legs are not stuck in the floor or he is not floating high in the air. Do the same thing for the T spawnpoint.


12. When we are done with placing spawnpoints we need a source of light in order for players to see something it the map. To do that you need to click on Entity tool and select from the object bar entity "light"

Plase it in the middle air of your map. It would look something like this:

Select it and then press "Alt+Enter". The object properties windows will apper. From here you can change the properties of the entity.

For now all we need to know is that we can change the color and brightness. To do change the values in Brightness or pick the color yourself. The first three numbers 255 255 255 200 indicated the color of the light and the last one is the brightness. Avod using colorfull ligts in your map because it makes it more loaded and laggy for players.

You are gonna need a lot more of those if you want your map to be bright as day. You can copy/paste the light entity all over the map, but don't place too much because it will cause lagg.
13. Now our map has all the basic things it needs to exist. Here is the result after compilation (about compilation in the next guide)


Congratulations now you have a shitty map with a dick shaped blocks! Nothing much to do there, except jumping around all day, But it's still something and it works, so thats the most important. The more you learn about how to combine different brushes with different entities and different textures the more complex map you gonna be able to make. If you already know all of this then you are ahead in the game. Stay tuned for more guides!
1.For a start click of "File" tab and select "New". If asked to select game confuration select "cs". Afther that this window will appear.
2. Now select a texture to use from the right texture bar. It doesn't matter what texture you pick its your own choice. Textures are very important part of mapping. Some textures have different properties, like water or sky texture, but more about that later.
3. Now that you have picked texture, you need to learn about "Block tool". Clock the block tool button on the left or use shortcut "Shift+B" and create your first block in the top viewpoint section.
The block tool is the main tool you gonna use to create maps. The blocks creates brushesh in your map. The more brushesh your map contains, the more laggy your map is gonna be. So don't create many blocks because it may make your future map unplayable. More about the brushes later.
About brushes
About Selection Tool
Now you have empty block that can be used as border for our map. REMEMBER in orther to create working map it needs to be SEALED so there are no LEAKS.No part of the interior of the level, the world, should connect with the outside, the empty black void. VOID IS DANGEROUS! If there is leak to the void you won't be able to compile your map and if your map is really big you gonna have hard time to find where the leak is, so learn from the beggining to keep everything closed within surface.
5. "The Camera" allows you to move freely in the 3D and observe your creating from better angles. Its probably the most usable tool, and its great help to see if there is any leaks in your map or just to see how thing are gonna be like when you play your map in cs. You can use shortcut "Shift+C" or from the left tool bar in Hammer. To move in 3D view hold left or right mouse button and "W" ( or you can press "Z" and it will hold it automatically). You can even create different camera points that will remain and can be swaped with one onother. You can do that with holding Shift and draging left mouse button to the direction you want your camera to see. To delete them just select the camera point and press "Detlete".
Another tip i can give you is to press "Shift+Z" , it will maximize you 3D view window so you can move better with the camera and then press it again to return to the previous view.Try experimenting and get familiar with the camera. If you close some viewpoint window DON"T EXIT THE HAMMER, just click go in the top menu and click WIndow and then "Tile" to rearange all the viewpoints. Thats all you need to know about camera.
6. You probably noticed that when you create block it snaps to the grid in hammer. But sometimes you gonna need to use smaller blocks or place them with more precision. For that you need to change the size of the grid. To do that just click "Smaller grid" and "Larger grid" that works for you. Remember to use as much as possible large grids because smaller grids can make easy for blocks to be displaced in some cases. Even if you disable the grid from the button its still gonna snap to it's selected size.
7. Now that you know how to resize your grid you can place some objects inside your block. You can switch to other kind of shapes from the "Obeject bar"
Try experimenting with those object to create unique forms for your map.
8. After you have created some different blocks try to change treir texture. About texturing you already know how to select texture from the texture bar. Now you need to see how to apply it. You can apply one texture to either the whole object you have marked, or to only one side of it. Select object and then click on "Apply current texture" and the texture will change to all of the object sides.
The other tool is "Toggle texture application". You can call it with the shortcut "Shift+A". Use it to change the texture only to the sides you want from one object.
Toggle texture application is very flexible tool for texture editing. With it you can scale, move, rotate textures, make it mirrored or just fitting it all in the object side. This tool as well as block tool and camera you will be using for 90% of the time when you create maps. So its good to experiment with it and find how it works by yourself instead of reading it in a guide.
9. Another usefull tool in Hammer is the "Clipping tool".
You can use it to cut parts from your blocks. Its pretty easy to use, you just place a pont where you want to start clipping and then drag it to the end of the object.
10. There is "Vertex tool" which can be called by "Shift+V". I don't really recommend using it if you don't know what you are doing because it can create really twisted shapes straight from the 4th dimention that can crash your hammer or compilator.
11. The last tool you need to know about as a begginer and maybe the most important one is "Entity tool". Click it from the left tool bar or use "Shift+E"
Now that you have activated it you need to select entity you want to use.
About Entities:
info_player_start - entity for one CT player spawnpoint
info_player_deathmatch - entity for one T player spawnpoint
Select the info_player_start ( its by default) and place it inside your map borders and press "Enter". A green block will appear with the size of a real cs player model. Watch out that the player legs are not stuck in the floor or he is not floating high in the air. Do the same thing for the T spawnpoint.
12. When we are done with placing spawnpoints we need a source of light in order for players to see something it the map. To do that you need to click on Entity tool and select from the object bar entity "light"
Plase it in the middle air of your map. It would look something like this:
Select it and then press "Alt+Enter". The object properties windows will apper. From here you can change the properties of the entity.
For now all we need to know is that we can change the color and brightness. To do change the values in Brightness or pick the color yourself. The first three numbers 255 255 255 200 indicated the color of the light and the last one is the brightness. Avod using colorfull ligts in your map because it makes it more loaded and laggy for players.
You are gonna need a lot more of those if you want your map to be bright as day. You can copy/paste the light entity all over the map, but don't place too much because it will cause lagg.
13. Now our map has all the basic things it needs to exist. Here is the result after compilation (about compilation in the next guide)
Congratulations now you have a shitty map with a dick shaped blocks! Nothing much to do there, except jumping around all day, But it's still something and it works, so thats the most important. The more you learn about how to combine different brushes with different entities and different textures the more complex map you gonna be able to make. If you already know all of this then you are ahead in the game. Stay tuned for more guides!